

Important D-Link DIR 850L Firmware update – PPPOE
Customers using the DLINK DIR-850L router are urged to perform a firmware update to address a security vulnerability. For customers who have purchased this modem from Skymesh, we sent you an email linking to these instructions.
Please note we require your router to be connected to a complete to complete the upgrades.
1: Download the new firmware.
Please note the firmware contains two separate files.
2: Connect to LAN
Please ensure your computer is plugged into one of the black ports on your router.
3: Apply the update
Click apply update below to continue.
Enter your admin username (‘admin’) and your admin password.

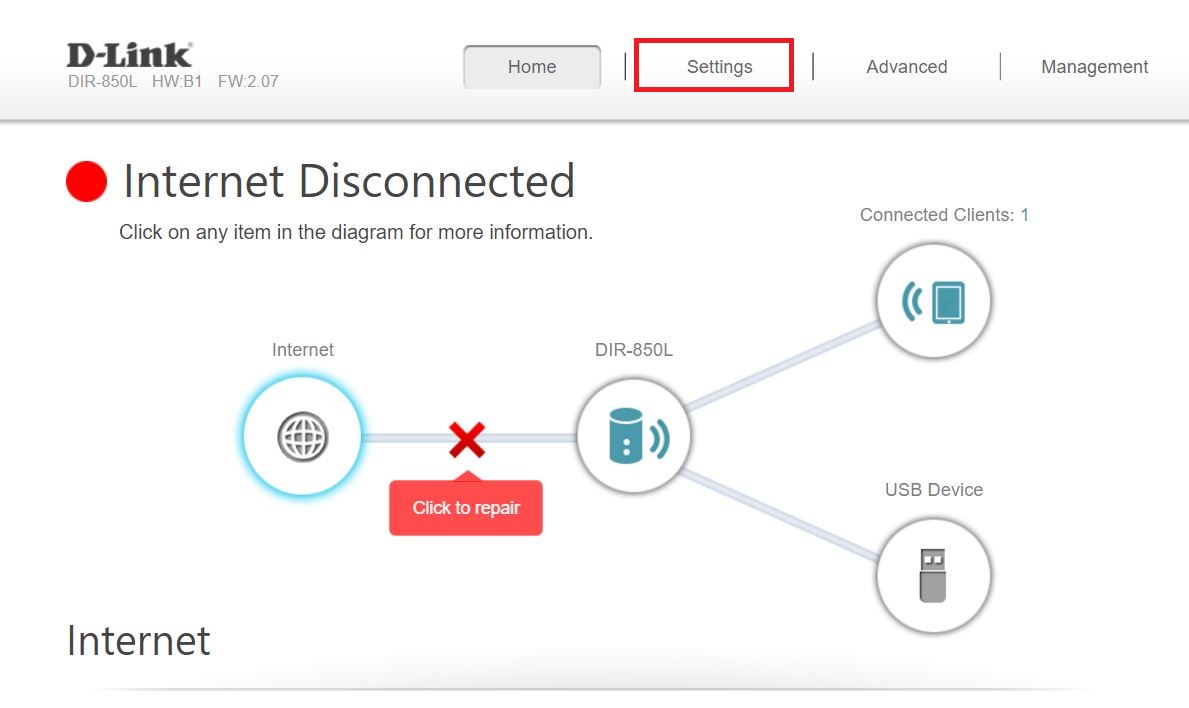
Click on the heading marked ‘Settings’ at the top of the page. Select ‘Wireless’ from the dropdown menu.

4: Record your WIFI Credentials
Make a note of your current “SSID / Network Name” and your current “Password”. (At the end of this process we will be requesting that you reset your router to factory default settings, and then re-enter your admin and WiFi passwords.)

Click on the ‘Management’ heading in the top-right corner of the screen. Select ‘Upgrade’ from the drop-down menu.
Click the ‘Select File’ button.
Select the first file (‘FW210WWb03.bin’) and click ‘Upload’. This file will most likely be in your ‘Downloads’ folder.
Select the second file (‘FW220WWb03.bin’) and click ‘Upload’. This file will most likely be in your ‘Downloads’ folder.

After both firmware upgrades have been installed, we recommend connecting your computer to the LAN 1 port of the DIR-850L with an Ethernet cable. This will mean that you will still be able to access your router after performing a factory reset.
5: Complete a factory reset
Leave your modem router powered on. Using a paperclip or something sharp press the reset button on the bottom of the unit and hold it for 10-15 seconds.
Release the reset button and allow your router 2-3 minutes to reboot after a factory reset. Once the reset is complete your power light should return to a solid green state.
6: Set up your router
Click below to start setting up your router.
You may see a setup wizard. Click the ‘Cancel’ button to be taken to the main menu for your router.

Click on the heading marked ‘Settings’ at the top of the page. Select ‘Internet’ from the drop-down menu.
Update your Internet settings as follows:
– My Internet Connection is: PPPoE
– Username: As per email
– Password: As per email
– Reconnect Mode: Always On
Click the ‘save’ button at the top of this page to save your settings.

7: Set up your WiFI networks
Click on the heading marked “Settings” at the top of the page. Select “Wireless” from the dropdown menu.
Your wireless settings should be as follows:
2.4GHz
– Status: Enabled
– Wi-Fi Name (SSID): The network name that you noted earlier.
– Password: The WiFi password that you noted earlier.
5GHz
– Status: Enabled
– Wi-Fi Name (SSID): The network name that you noted earlier.
– Password: The WiFi password that you noted earlier.
Click on the ‘Save’ button at the top of the page.
Click on the ‘Management’ heading at the top of the page and select ‘System Admin’ from the drop-down menu.
Type the admin password that you used previously and click save
